_画板-1.png)
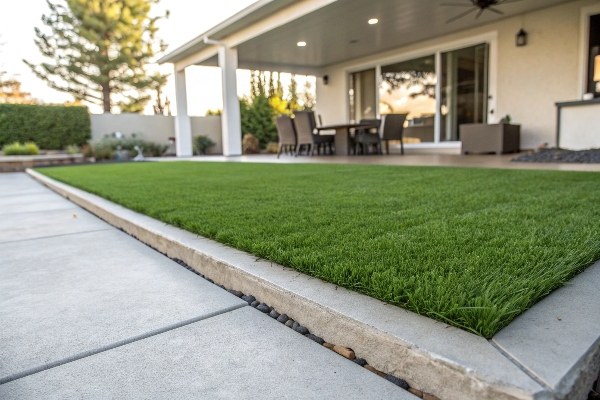
Struggling to make concrete look green? A bad glue job can cause lifting edges and wrinkles. I’ll show you how to get a perfect, lasting bond every time.
To properly glue artificial grass to concrete, start with a clean, dry, and level surface. Apply a specialized turf adhesive evenly with a notched trowel. Carefully lay the turf, press it down firmly, and allow the glue to cure completely according to the manufacturer’s instructions.
Getting that perfect finish seems straightforward, but I’ve seen many projects fail because of simple oversights. The secret isn’t just in the gluing; it’s in what you do before you even open the adhesive. Let’s break down the essential steps to make sure your project is a success from the ground up.
What Preparation is Required Before Gluing Turf to Concrete?
Ready to transform your concrete with lush turf? Skipping preparation leads to poor adhesion and an uneven finish. Let’s cover the crucial prep steps for a flawless installation.
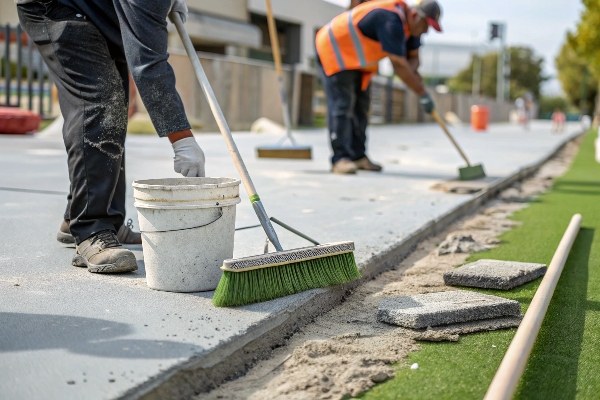
Before gluing, ensure the concrete is completely clean, dry, and free of debris, oils, and old paint. Repair any cracks or holes and make sure the surface is level. A clean, smooth base is essential for the adhesive to bond properly with the artificial turf.
I’ve learned from experience that preparation is 90% of the job. You can’t just sweep the concrete and start gluing. The surface needs to be pristine. I once fixed a job where the turf was peeling back at the corners just weeks after installation. The problem? They didn’t properly clean off a fine layer of dust and some old paint flecks. The glue stuck to the dust, not the concrete.
Key Preparation Stages
First, you must deep clean the area. This means more than a simple sweep. Use a power washer to remove stubborn dirt, algae, and grime. If there are oil or grease stains, a degreaser is necessary. The adhesive needs a pure concrete surface to create a permanent bond.
Next, inspect the concrete for any damage.
| Defect Type | Action Required | Why It’s Important |
|---|---|---|
| Cracks/Holes | Fill with concrete patch/epoxy | Prevents weak spots under the turf |
| Uneven Areas | Use a self-leveling compound | Ensures a smooth, flat final surface |
| Old Paint/Sealants | Grind or strip them off | Adhesives won’t stick to these coatings |
Finally, the concrete must be bone dry before you apply any adhesive. Moisture is the enemy of a good bond. It can prevent the glue from curing correctly and cause it to fail over time.
What is the Step-by-Step Process for Applying the Adhesive?
Your surface is prepped and the turf is ready. But applying the adhesive can be tricky. Messy application leads to a weak bond. Let’s walk through the right way.
Start by applying the artificial grass adhesive around the perimeter of the area. Then, spread the adhesive across the entire surface using a notched trowel. Work in manageable sections to prevent the glue from drying out before you lay the turf. This ensures a consistent, secure bond.
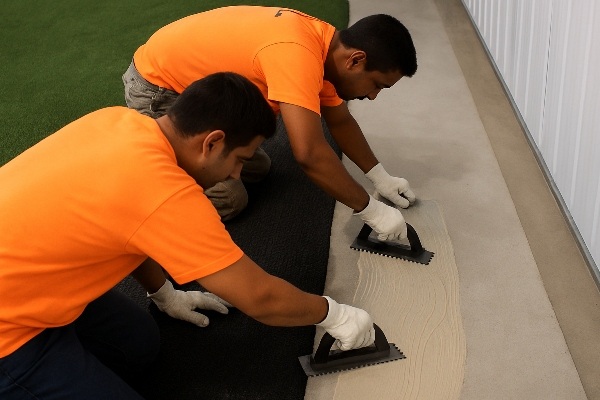
Applying the adhesive is where your preparation pays off. The goal is a consistent, even layer. I always tell my team to think of it like icing a cake—you don’t want any lumps or bare spots. The right tool is critical here. A 1/8" or 3/16" square-notched trowel is usually a good choice. It leaves behind perfect ridges of glue that will collapse and spread evenly when you press the turf down.
Application Strategy
Here’s the process I follow for a flawless application every time.
- Secure the Perimeter: First, apply a continuous bead of adhesive around the entire edge of the concrete slab, about 6 inches wide. This is the most crucial area, as edges are the first place turf will try to lift.
- Fill the Interior: Working in a manageable section (maybe 5×10 feet), pour the adhesive and spread it evenly with your notched trowel. Hold the trowel at a 45-degree angle to create those uniform ridges.
- Lay the Turf: Carefully roll your pre-cut piece of turf onto the wet adhesive. Don’t just drop it; guide it into place to avoid wrinkles.
- Press and Bond: Walk all over the turf or use a weighted roller to press it firmly into the glue. This ensures the backing makes full contact with the adhesive. Repeat this for each section until the entire area is covered.
Are There Common Mistakes to Avoid During Installation?
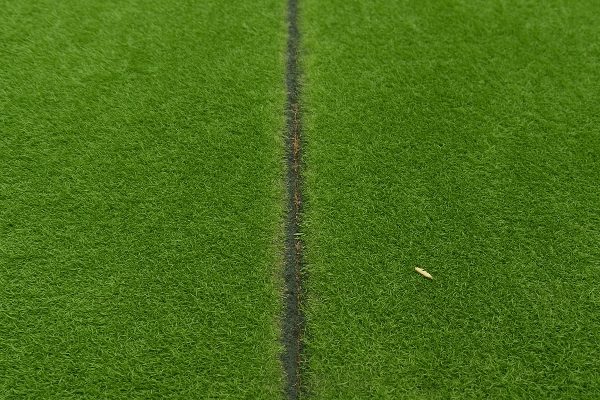
Your new lawn looks great, but some small mistakes can ruin it later. Visible seams or lifting edges can spoil the look. I’ll show you what to avoid.
Common mistakes include using the wrong type of adhesive, applying glue in extreme temperatures, not allowing enough curing time, and failing to press the turf firmly into the glue. Also, avoid getting adhesive on the grass fibers, as it is very difficult to clean off.
Over the years, I’ve been called in to fix many projects. The problems almost always trace back to a few common, easily avoidable mistakes. It’s frustrating to see because a little extra care could have prevented them. One of the worst I saw was someone who used the wrong glue. It was a water-based adhesive meant for indoor carpet. The first big rainstorm turned it back into a milky liquid, and the entire lawn floated off the patio.
Here are the top errors I see and how to avoid them:
| Mistake | Why It’s a Problem | How to Avoid It |
|---|---|---|
| Wrong Adhesive | The bond will fail. It won’t stand up to weather, temperature changes, or moisture. | Always use a 1-part or 2-part polyurethane adhesive made specifically for outdoor artificial turf. |
| Ignoring Weather | Glue won’t cure properly if it’s too hot, too cold, or raining. | Install on a dry day, within the temperature range specified on the adhesive label (usually 50-90°F or 10-32°C). |
| Skimping on Glue | You’ll get weak spots and bubbles where the turf isn’t bonded to the concrete. | Follow the coverage guidelines on the product. It’s better to use slightly too much than not enough. |
| Not Pressing Down | The turf backing and the adhesive won’t make full contact, creating a weak bond. | Walk, kneel, or use a weighted roller across every square inch of the newly laid turf. |
Conclusion
Proper gluing comes down to clean preparation, the right application technique, and avoiding common mistakes. Follow these steps for a durable, professional-looking installation on any concrete surface.
_画板-1.png)